Images of bedroom canopies fill Pinterest and Instagram as they look incredible, but actually require minimum effort. They’re a great way to revamp a room; to add the crowning glory to a Princess bed, or to create a place for a child to play and read in their room. Of course, you could always opt for a fabric only canopy, but why would you want to do that when you can add lights? And the perfect lights for this project are rope lights, since they can easily be shaped to fit within the circular section of the canopy.
We wanted to show you how easy it is to make your own rope light canopy, using only a handful of items, and for only £35. So, read on, watch our easy to follow how-to video, and make the bedroom canopy of your dreams!
What you will need:
- Rope light (we used a 2m length)
- A canopy (the one we used came with the metal hoop included and ribbon ties attached)
- Clear cable ties
- Scissors
Step by step:
- First, secure the end of the rope light to the metal hoop using cable ties, then work your way around the hoop, securing the rope light – we used 5 cable ties, evenly spaced along the hoop.
- Next, trim off the excess from the cable ties to neaten.
- Now, attach the metal hoop and rope light to the inside of the canopy – our canopy came with ribbons already attached.
- Turn the canopy the right way around, so that the rope light is on the inside and, finally, hang the canopy and switch on the rope light!
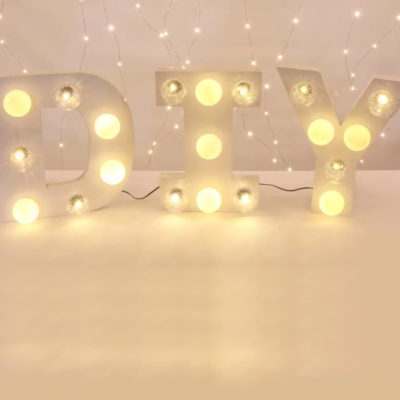
If you’ve tried this DIY, then let us know in the comments section, and don’t forget to share your images on Twitter or tag us on Instagram, making sure you use the hashtag #myfestivelights and we’ll share our favourites!
For more home lighting inspiration, and other DIYs, find us over on Pinterest!