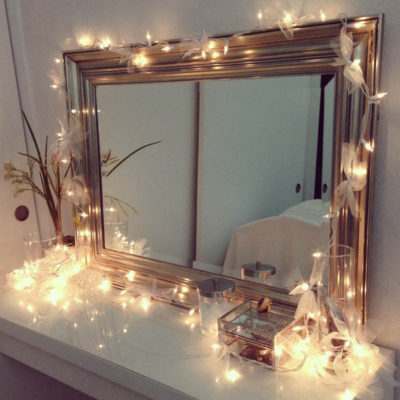
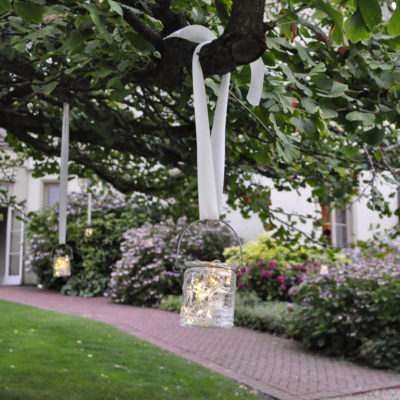
You see stunning images of fairy light chandeliers everywhere, but when it comes to finding out how they’re made, frustratingly there’s nothing to be seen! Well, the search is over as we’ve decided to make our own version of this beautiful, bespoke light feature and wanted to share how we did it.
What you will need:
- Fairy lights (we chose long drop icicles)
- You’ll need a starter cable if you’ve opted for ConnectPro lights
- A hula hoop
- Cable ties
- Ribbon x 2 for hanging
- A ceiling hook
Begin at the beginning
Start by securing one end of the lights in place. We just used the icicle drops themselves and tied them securely around the hoop. We were able to do this thanks to the strong rubber cabling on these particular icicle lights, but if your lights aren’t quite as robust, you can use cable ties to secure.
You spin me right round
Now this bit can take some time but it’s a really simple process. All you need to do is work your way around the hoop, securing the lights as you go. Make sure the end of the lights with the connection is easily accessible, as you’ll need to connect your chandelier to the power source.
The circle of lights
Your beautiful new fairy light chandelier is complete! Simply tie two separate lengths of ribbon onto the hoop, one across from the other, creating a cross shape over the hoop. Using these ribbons, you’ll be able to hang your fairy light chandelier from a hook. Now all you need to do is plug in your homemade chandelier, sit back and enjoy your hard work!
Let us know if you’ve tried out this DIY yourself and don’t forget to share your images on Twitter or tag us on Instagram, make sure you use the hashtag #myfestivelights and we’ll share our favourites!
For more home lighting inspiration, and other DIYs, find us over on Pinterest!


