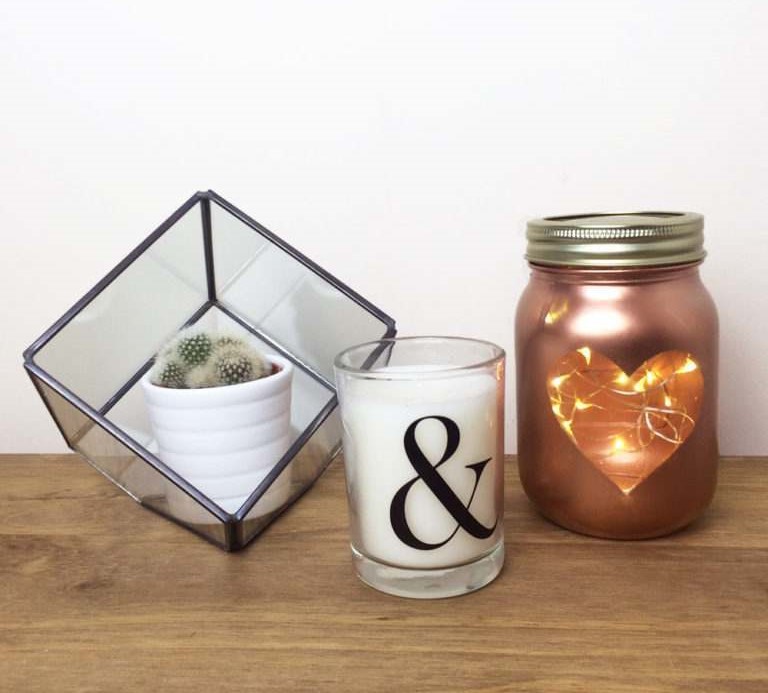
Love is in the air, everywhere I look around! It’s that time of year again, it’s Valentines day! The time for celebrating love…and making your own Valentines mason jar light (I think that’s how the saying goes). Get your craft on and follow these 6 easy steps, set to add a loving glow to your home this Valentines season.
What You’ll Need:
- A mason jar.
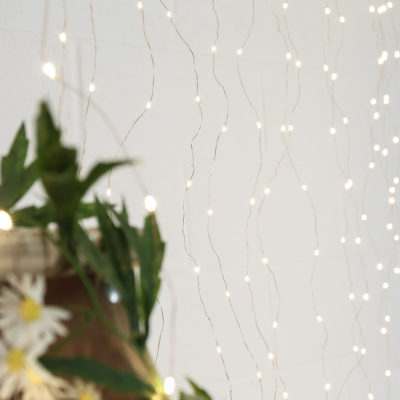
- A battery powered tea light or fairy lights.
- Spray paint of your choice.
- Sticky back paper- This can be substituted for any kind of removable adhesive such as Blu Tack.
- Paper – if sticky back paper isn’t being used.
Step By Step – Valentines Mason Jar Light
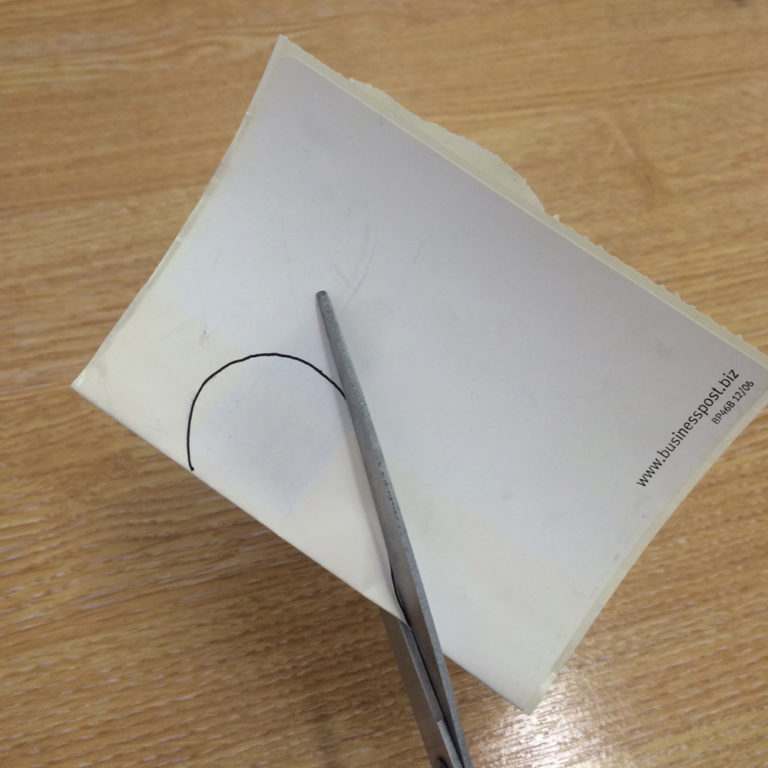
1. Firstly, Cut a shape of your choice out of paper/sticky back paper. We chose a love heart as it’s valentines day! But you can choose whatever you’d like, we think letters would be perfect.
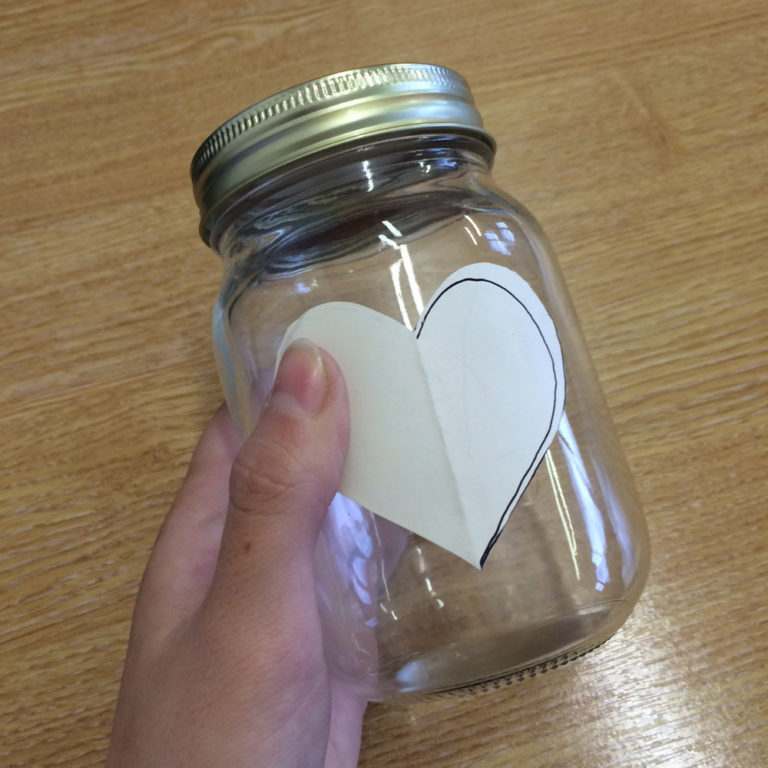
2. Next, stick this shape onto the jar. If you’re using sticky back paper, simply peel back the paper and stick down the adhesive side. If you’re using normal paper, be sure to stick down firmly with Blue Tack to avoid any large gaps that paint can get underneath.
3. Once your shape is secure, you can start to paint your mason jar! We recommend you do this outdoors or in a well-ventilated area. Cover any clothing or furniture that may be in the area.
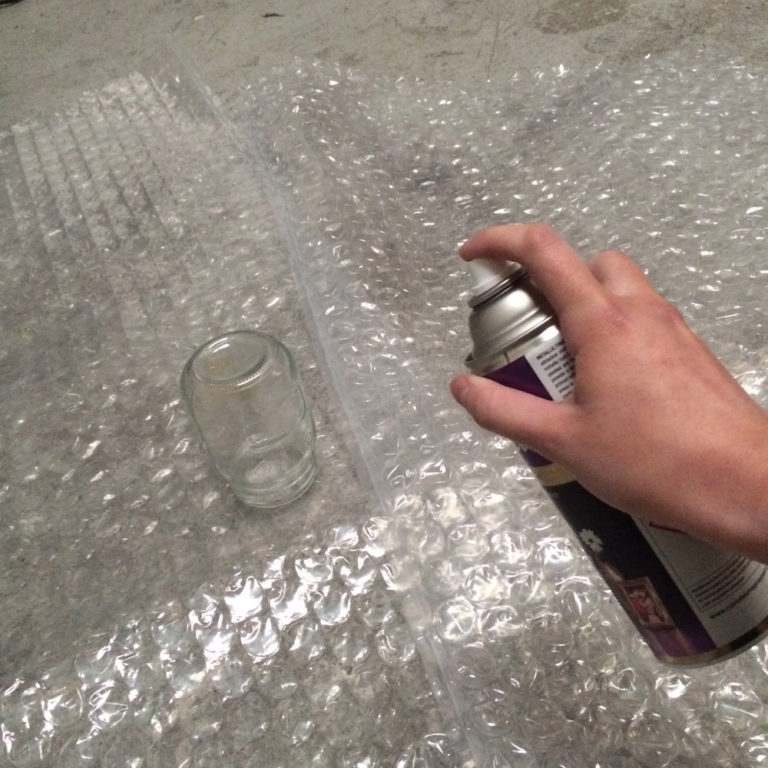
4. TOP TIP: Be sure to paint thin layers when spray painting, and allow to dry between coats. We painted 2 layers on our mason jar.
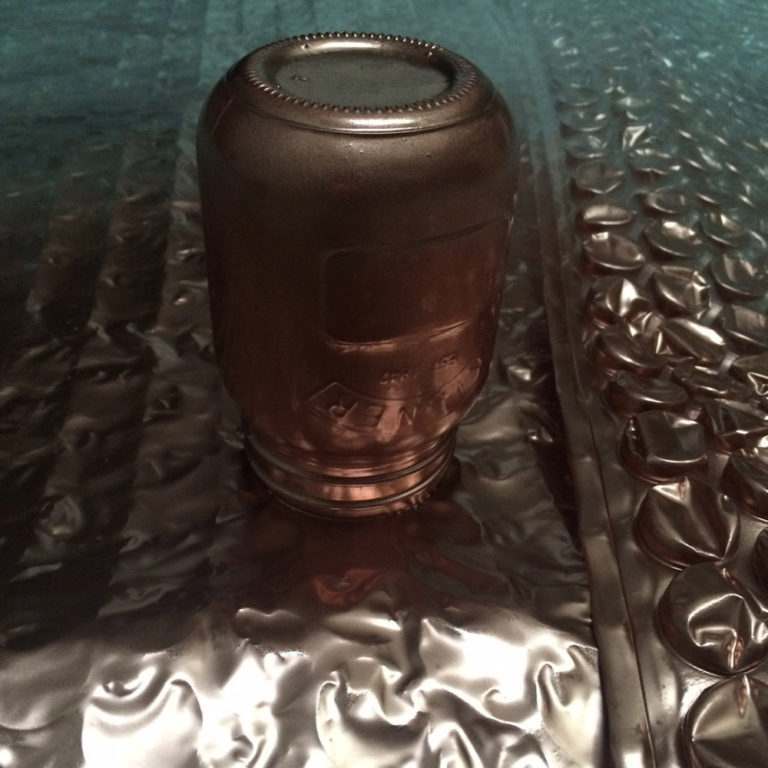
5. Once dry, gently peel the paper from the jar, revealing the shape underneath.
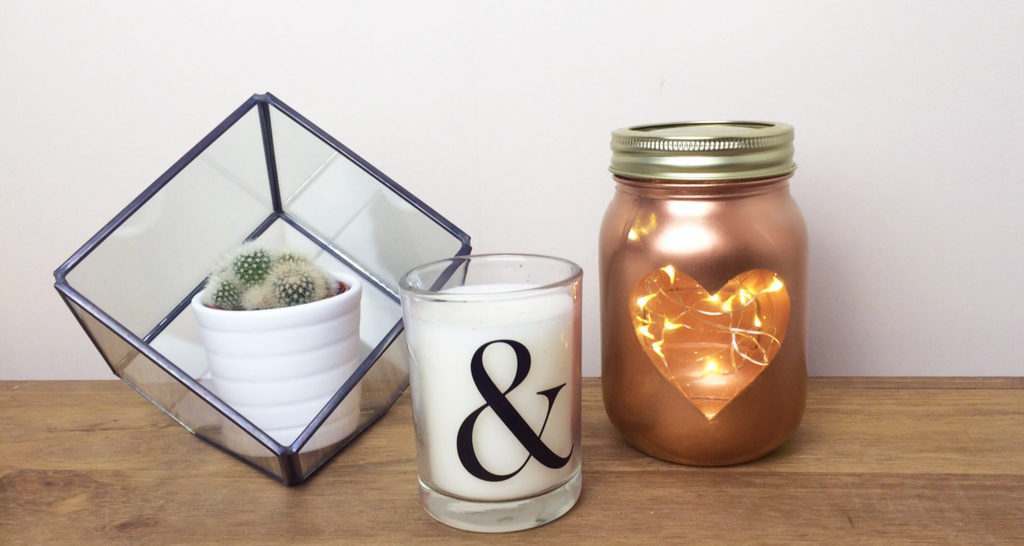
6. Lastly, place the tealight or fairy lights inside the jar, switch them on and voila! You’re done.
We hope you’ve enjoyed this simple DIY! Check out the rest of our blog where we have lots of DIY’s you’ll love getting stuck into.
Loved making your DIY Valentines mason jar? Share your thoughts with us on Twitter and Instagram, using #ShareTheJoy.