Nothing says Christmas quite like snow, but unless you’re one of the lucky few, seeing a white Christmas is often but a dream for many. Who doesn’t imagine waking up on Christmas morning to the tranquil image of delicate snow dusting over trees?
Well, this year, we say it’s time to take matters into our own hands.
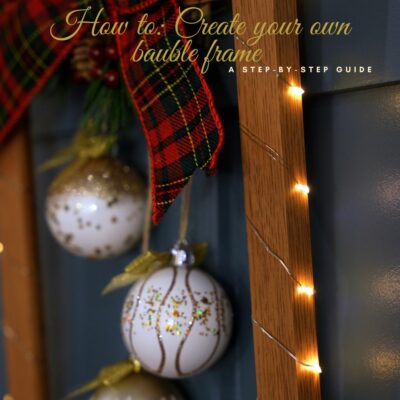
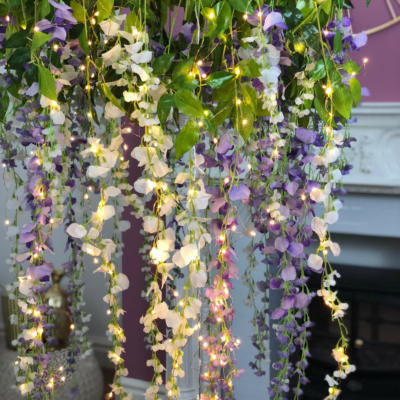
In this easy-to-follow DIY, we’ll show you how to create your very own winter wonderland within your home using our favourite Firefly Wire Fairy Lights.
Watch our latest YouTube video below to get the look.
Things you’ll need:
- Mason jars (we bagged ourselves this pack of 4 from Amazon)
- Fake snow (this 80g bag from Amazon can be re-used year after year!)
- Mini Christmas trees
- Battery powered warm white Fairy Lights (we used our dazzling Firefly Wire Fairy Lights)
- Hot glue gun
- String
- Christmas ribbon
- Christmas foliage
Step-by-Step:
- Pour your fake snow into an empty mason jar, filling it approximately halfway. TOP TIP – We’d recommend pouring approximately four finger’s width of snow per jar.
- It’s time to arrange your lights. The key with this is the more scattered, the better. So don’t stress about where your lights may fall and let sparkly nature take its course.
- Secure the battery pack on top of the lid of the jar using the hot glue gun to keep it in place, ensuring that the buttons and switches are facing you.
- Arrange your mini-winter wonderland by securing your trees into place. TOP TIP – Make sure that the base of the tree is fully submerged in the snow to stop they from toppling over. Once you’re happy, screw on your lid.
- Once the lid is firmly secure, start to wrap the edges of the lid in string. TOP TIP – Use a small dab of hot glue to keep your twine in place whilst you’re wrapping.
- Make your jar your own and decorate with festive cheer. We opted for a traditional Christmas bow and pinecones.
- Finally, repeat these steps with the remaining three jars and arrange around your home for a cosy, homely glow.
If you love this DIY and have given it a go, why not let us know in the comment section, or share your creations with us on Twitter and Instagram. Be sure to use the hashtag #ShareTheJoy – and we’ll share our favourites!
For more lighting and DIY inspirations, find us over on Pinterest!